If you’re serious about growing your presence on Pinterest, creating multiple Pins for each piece of content is a must. Whether you are a service provider, affiliate marketer, YouTuber, blogger, ecommerce or small business owner — if you have online content — this post is for you!
The technique we’re about to show you applies the findings contained in our benchmark reports, demonstrating how to scale up your Pinterest marketing strategy — easily scheduling over 100 Pins for one piece of content with a smart, systematic approach.
From generating text overlays, designing multiple variations of each Pin, and using Tailwind’s powerful tools to streamline scheduling — we walk you through it all!
We’re revealing this technique with one of our own recent blog posts by giving you a behind-the-scenes peek at Tailwind’s own organic Pinterest marketing workflow.
Ready to seriously up your game on Pin scheduling while adhering to Pinterest best practices? Ready to improve your Pinterest strategy?
Let’s dive in!
Step One: Generate a list of text overlays for the Pin images
Here are the top three things to keep in mind when determining text overlays for Pins:
- Your text overlay should be representative of the blog content. Make sure that the blog post contains the content that the Pin text overlay says it does.
- Use keywords. Need help with keywords? Use Tailwind’s Keyword Finder to find the top keywords for your niche.
- Consider which of your Pinterest Boards you will pin to and choose text overlays that align with those boards. Here again you’ll want to be mindful of your board’s keywords. Check out our Board Title Idea Generator if you need help.
Tailwind works with a designer to create our graphic assets for each blog post. These assets include the header image, featured image, and a set of Pins.
We provide our Pin text overlays to our designer. But don’t worry — even if you don’t work with a designer you can still use this strategy.
Here is the list of Pin text overlays chosen for this blog post:
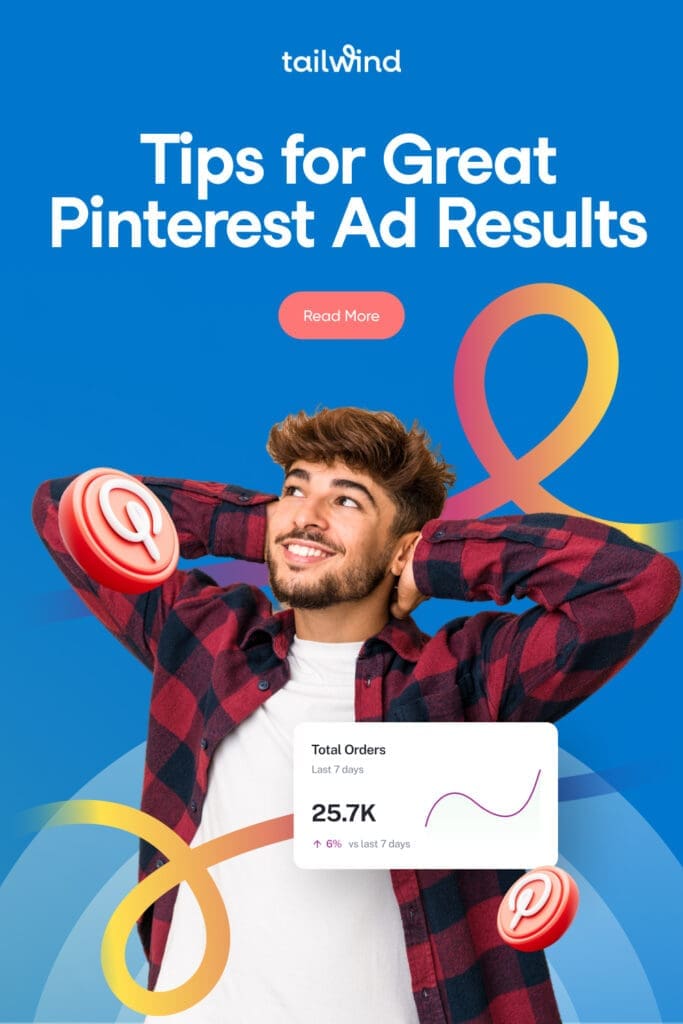
Tips for Great Pinterest Ad Results
Getting Started with Pinterest Ads
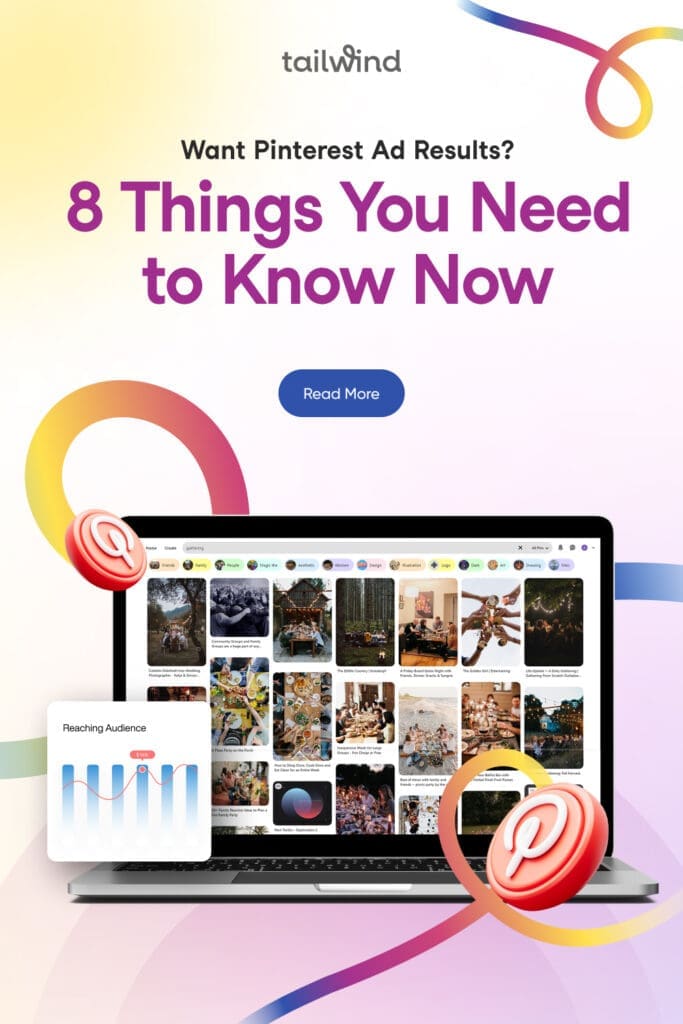
Want Pinterest Ad Results? 8 Things You Need to Know Now
How to Advertise on Pinterest
Save Money on Pinterest Ads
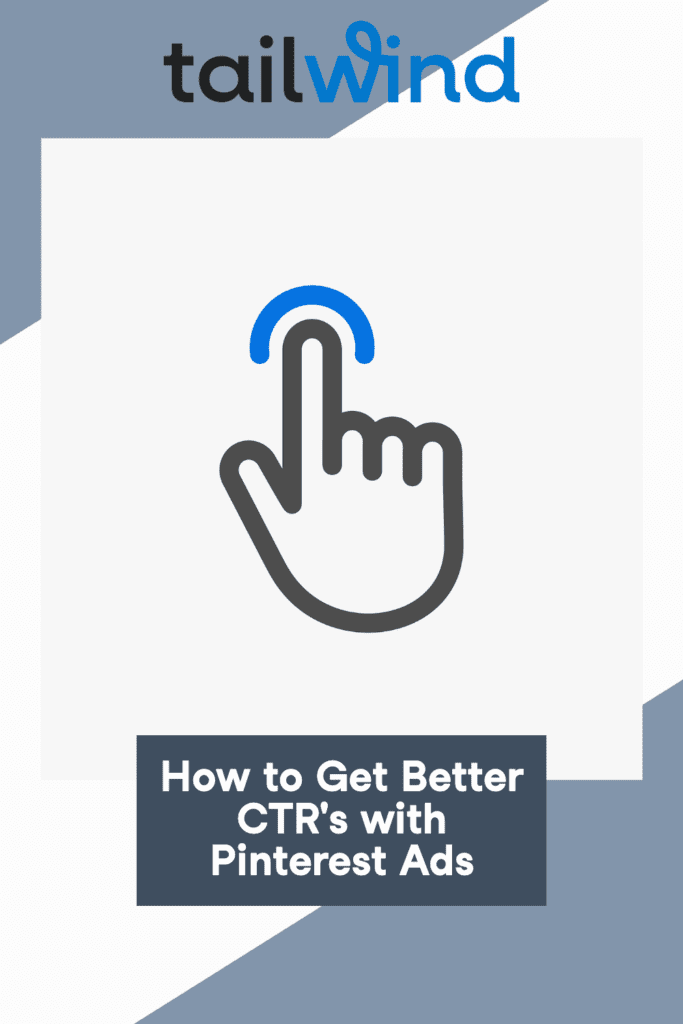
How to Get Better CTR’s with Pinterest Ads
Here are the designer-created Pins for this blog post:


Step Two: Create Multiple Pins with Each Text Overlay in Tailwind Create
Using the text overlays as your anchoring idea, use Tailwind Create to design multiple sets of Pins with the same text overlay.
We received six Pins from our designer. I’m going to make two more Pins for each text overlay to create six sets with the same text overlay.
6 text overlays x 3 designs per text overlay = 18 Pins.
Pro Tip: If you’re still pinning manually, it’s time to upgrade. The Tailwind Pinterest Extension streamlines everything in your browser.
Do the following in Tailwind Create:
- Insert text overlay into Title Text field
- Add a CTA text.
- Add blog URL. This will bring up images from your blog that you might want to use in your Pins. In this example I am not using images from our website. If you’re creating Pins for a recipe blog or another visually-rich type of content, you’ll probably want to use your own blog post images.
- If you’re not using images from your blog content, use the Stock Photo search function to find images. Use the keywords from your text overlay. Select an image.
- Select Color Palette. For these Pins I am using Tailwind’s easy built-in feature that will match backgrounds, text overlays and other design elements to the primary colors in the photo.
How to choose the best Color Palette
We learned some interesting things from our study of 1 million Pins. The most dominant colors in viral Pins are white, near white and light greys. After white and greys, the next most popular color scheme in viral Pins are either very soft or very bold. After those two factors, our research showed that Pins whose background colors matched the image colors were more viral than Pins where the brand’s color palette was the basis for the design elements and text overlays.
Our designer-made Pins lean into the very bold style, which is consistent with our branding, so we’re experimenting with more muted tones in our Tailwind Create Pins. Based on the research findings we are also experimenting with choosing Pin color palettes based on Pin image colors vs. our brand colors.
- Add your Branding. We like to use our Tailwind logo on our Pins.
- Select and/or Download the Pin you want.
Keeping the same Text Overlay and CTA, repeat steps 3 through 7 to generate another Pin with a different image, either from your blog post or from Tailwind’s Stock Photo search.
Repeat this process for every Text Overlay.
Here are our Tailwind Create Pins for six text overlays:
Getting Started with Pinterest Ads


How to Get Better CTR’s with Pinterest Ads

How to Advertise on Pinterest


Save Money on Pinterest Ads


Want Pinterest Ad Results? 8 Things You Need to Know Now


Testing a variety of Pin styles, layouts, and colors is key to finding what resonates with your audience. With Tailwind Create you can effortlessly generate multiple Pin designs in seconds, making it easy to experiment and refine your strategy.
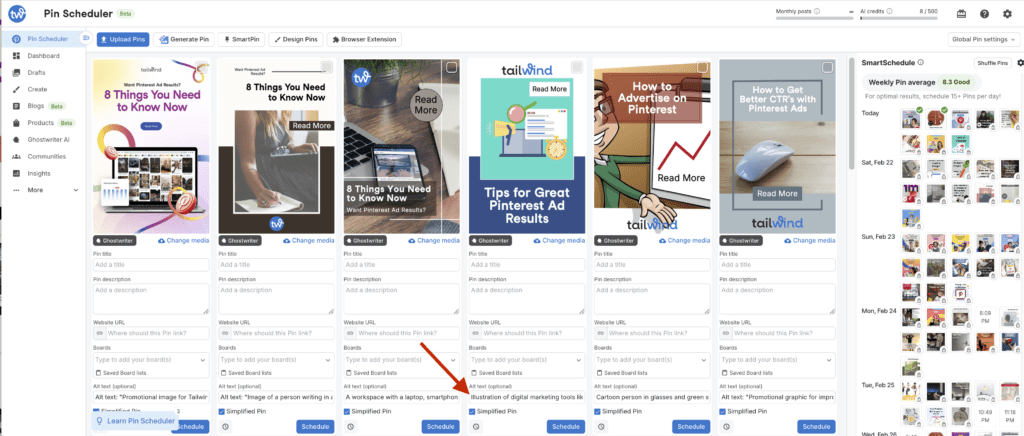
Step Three: Upload Pins to Pin Scheduler and Add Alt Text Descriptions
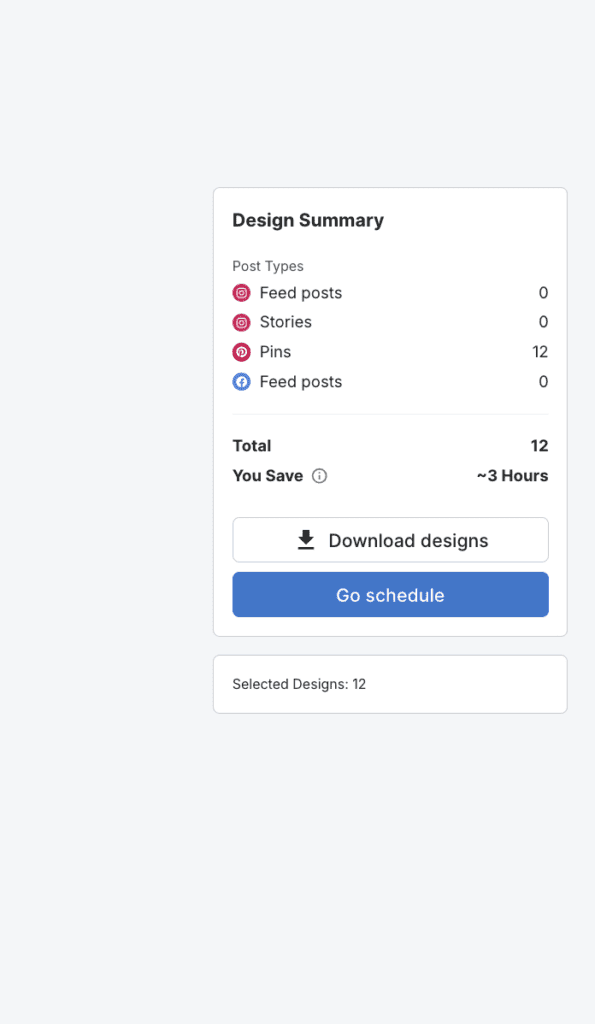
If you’ve made your Pins in Tailwind Create, from the Review Designs interface, click Go Schedule to move those designs to Pin Scheduler.
Alternatively, upload your Pins to Pin Scheduler.
In this example, I have 18 Pins uploaded to Pin Scheduler:
Use Tailwind’s Free Image Alt Text Generator to create Alt text descriptions for your Pins.
Step Four: Write Pin Titles and Descriptions
In our example we have 18 total Pins: six sets with three Pins in each set.
Set 1:
Set 2:
Set 3:
Set 4:
Set 5:
Set 6:


Each set will get the same Pin title and description, so we’ll need a total of six titles and descriptions.
Use the Pin Scheduler Batch Edit tool to add Pin Title, Pin Description and Website URL:
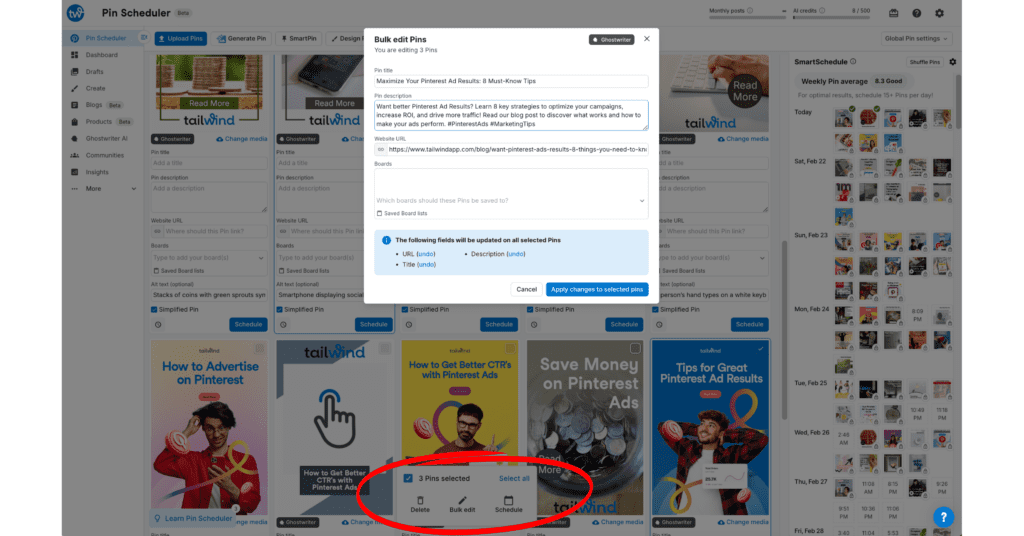
Consider which boards you will post to when you write your Pin title and description. These Pin elements should align with board themes. This makes it easier for Pinterest to understand your content and surface your Pins to the right audience.
Tailwind Ghostwriter makes it easy to generate keyword-optimized Pin titles and descriptions that help your content get discovered. By automatically incorporating relevant keywords, it ensures your Pins align with Pinterest search trends and reach the right audience.
Repeat this batch edit process for all six sets of Pins.
Step Five: Choose your Boards
Choose boards for each Pin or Pin Set. If you are scheduling multiple Pins to the same boards you can simplify this process using the batch edit feature:
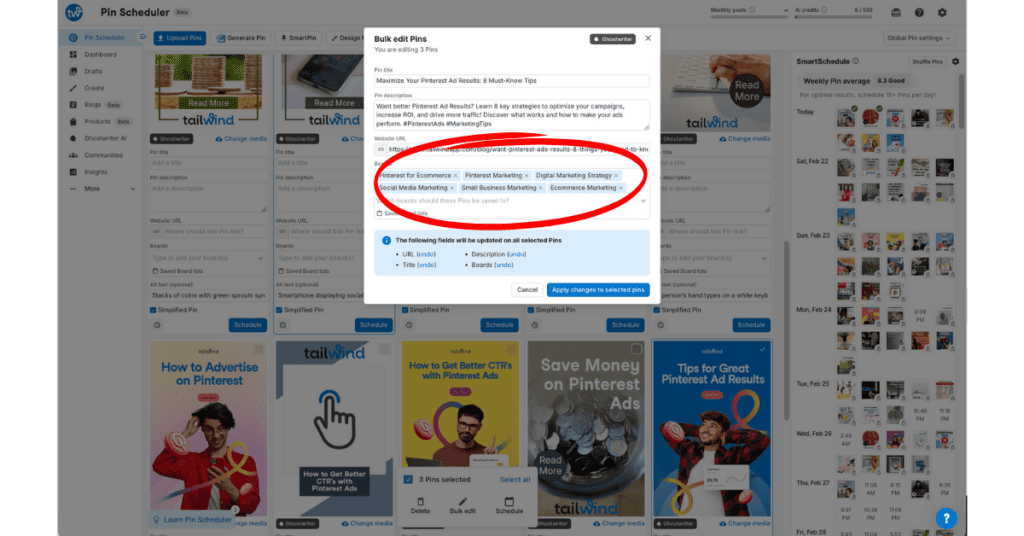
Our Pins are going to Pinterest-related boards and marketing-related boards. We’ve chosen our most relevant boards for each Pin.
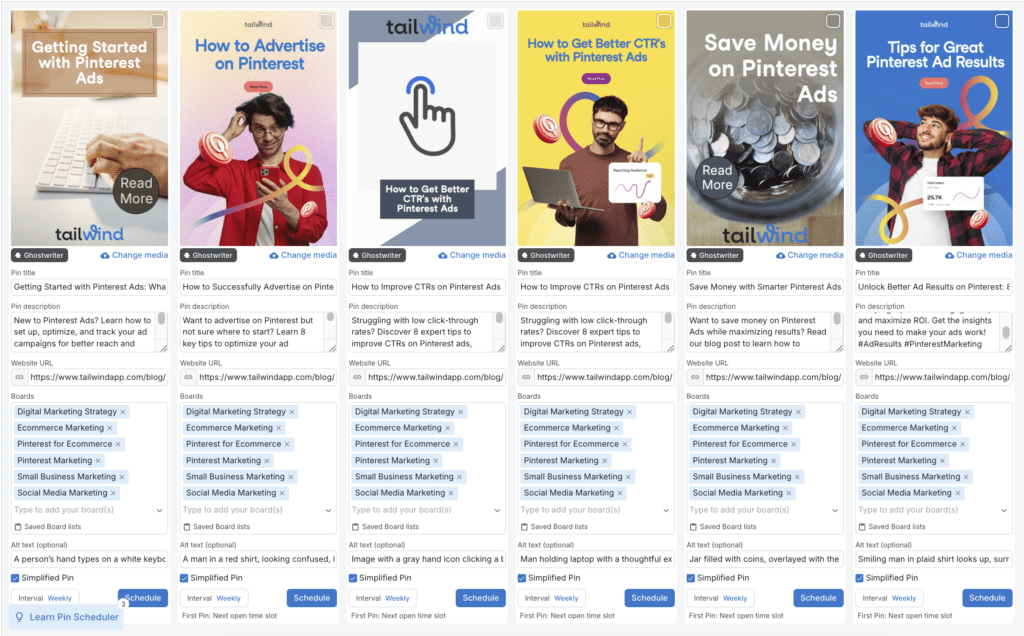
Step Six: Schedule your Pins
Yay, you’ve reached the easiest step!
Once each Pin has a title, description, URL, boards selected, and alt text, the next step is to choose the scheduling interval. If your Pin is going to multiple boards this interval feature sets how many days are between that Pin going to each of those boards.
After choosing your Interval, click Schedule and watch your Smart Schedule fill up!
The below images show what our Pins look like just before they are about to be scheduled, with Pin title, description, boards, alt text, and selected interval.
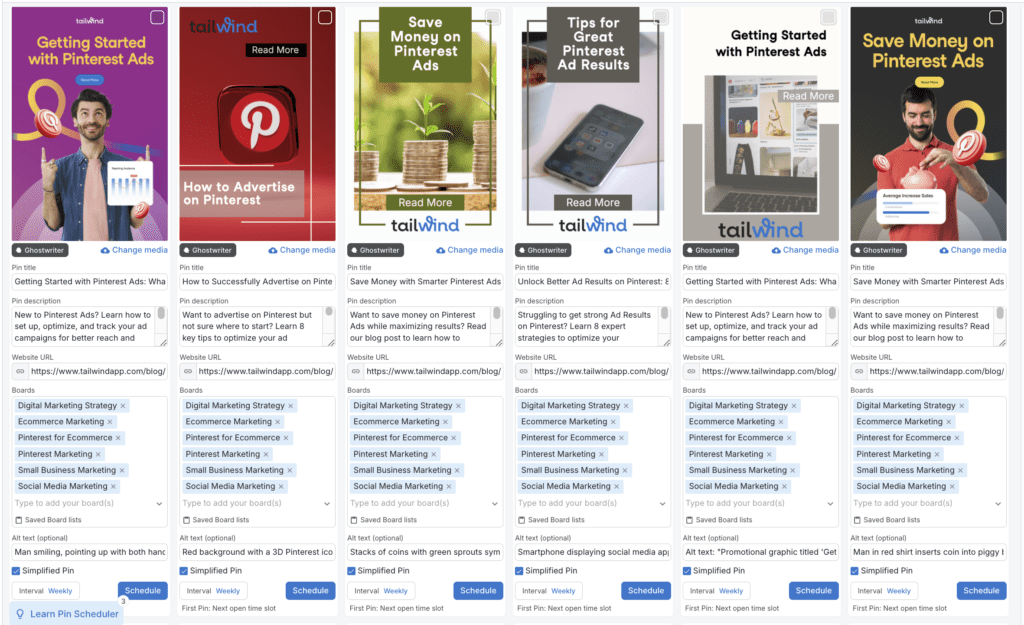
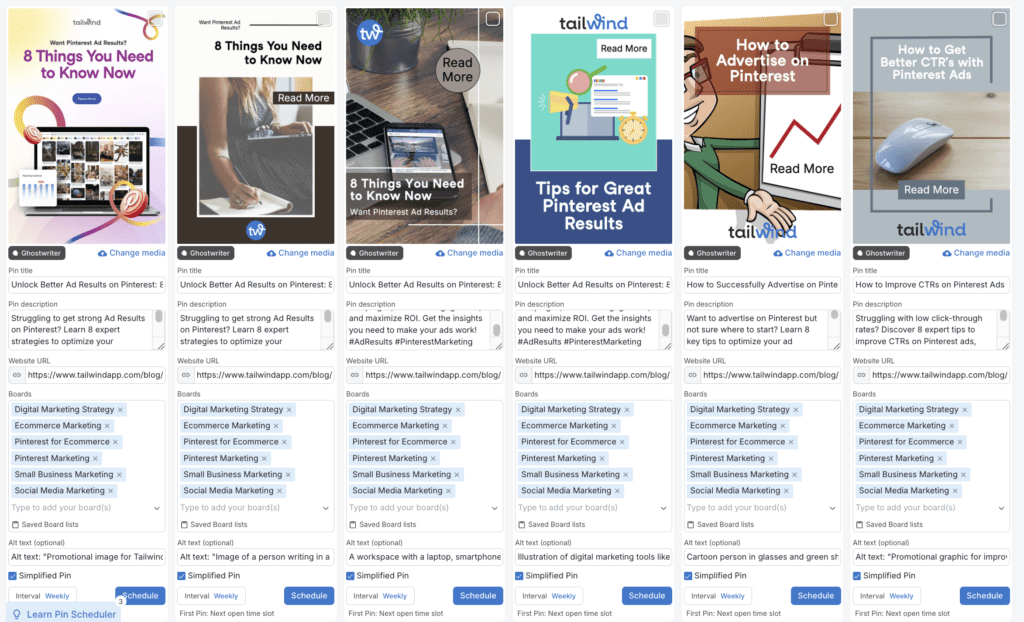
Doing the Math
In this real-life Tailwind example we scheduled 18 Pins to six boards each for a total of 108 scheduled Pins.
1 piece of content, 100+ Pins.
By following this step-by-step approach, you can easily scale your Pinterest marketing efforts and keep your content in circulation without added stress.
Creating multiple Pins, trying different styles, and scheduling them strategically ensures you maximize visibility and engagement. With Tailwind’s tools, you can streamline the entire process—from design to scheduling—so your Pinterest presence continues to grow effortlessly.
Ready to get started? Try this workflow and see the impact for yourself!